Sign In
My Fabrics
0
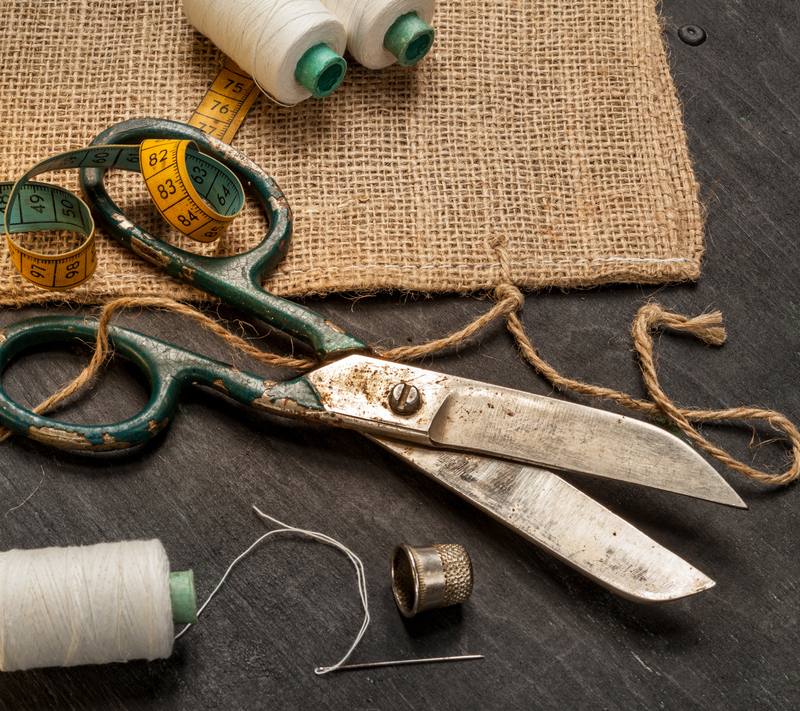
Burlap is an awesome fabric that provides a natural texture, offers a classic look, and has a rustic appeal. While the cloth is fairly easy to come by and super affordable, working with this type of material can be a bit of a challenge. Marshall Dry Goods carries some of the best burlap you will find for your next burlap project. As with any sewing endeavor, we have learned several things over the years that will help you overcome inherent issues burlap presents. So, before you get started, make sure you check out these helpful tips on how to sew using this amazing fabric:
Burlap can be dirty, so be sure to prepare your material prior to starting your project. You can spot clean the fabric by using a wet sponge to remove any visible stain. You can also toss it in your washing machine with an adequate amount of detergent. Add some fabric softener when rinsing. Make sure the spin rinse cycle is set to medium. If the burlap has a loose weave, hand washing is best. Before drying it in the dryer cycle, make sure the lint catcher is clean because the fuzz and lint from the burlap fabric will absolutely fill it up. The fabric will become wrinkled after the washing process, so iron it before cutting. Set your regular flat iron to the highest steam setting. Spritz the burlap with water one area at a time then begin ironing. The burlap won’t be pressed completely, but it will be relatively flat and much easier to cut.
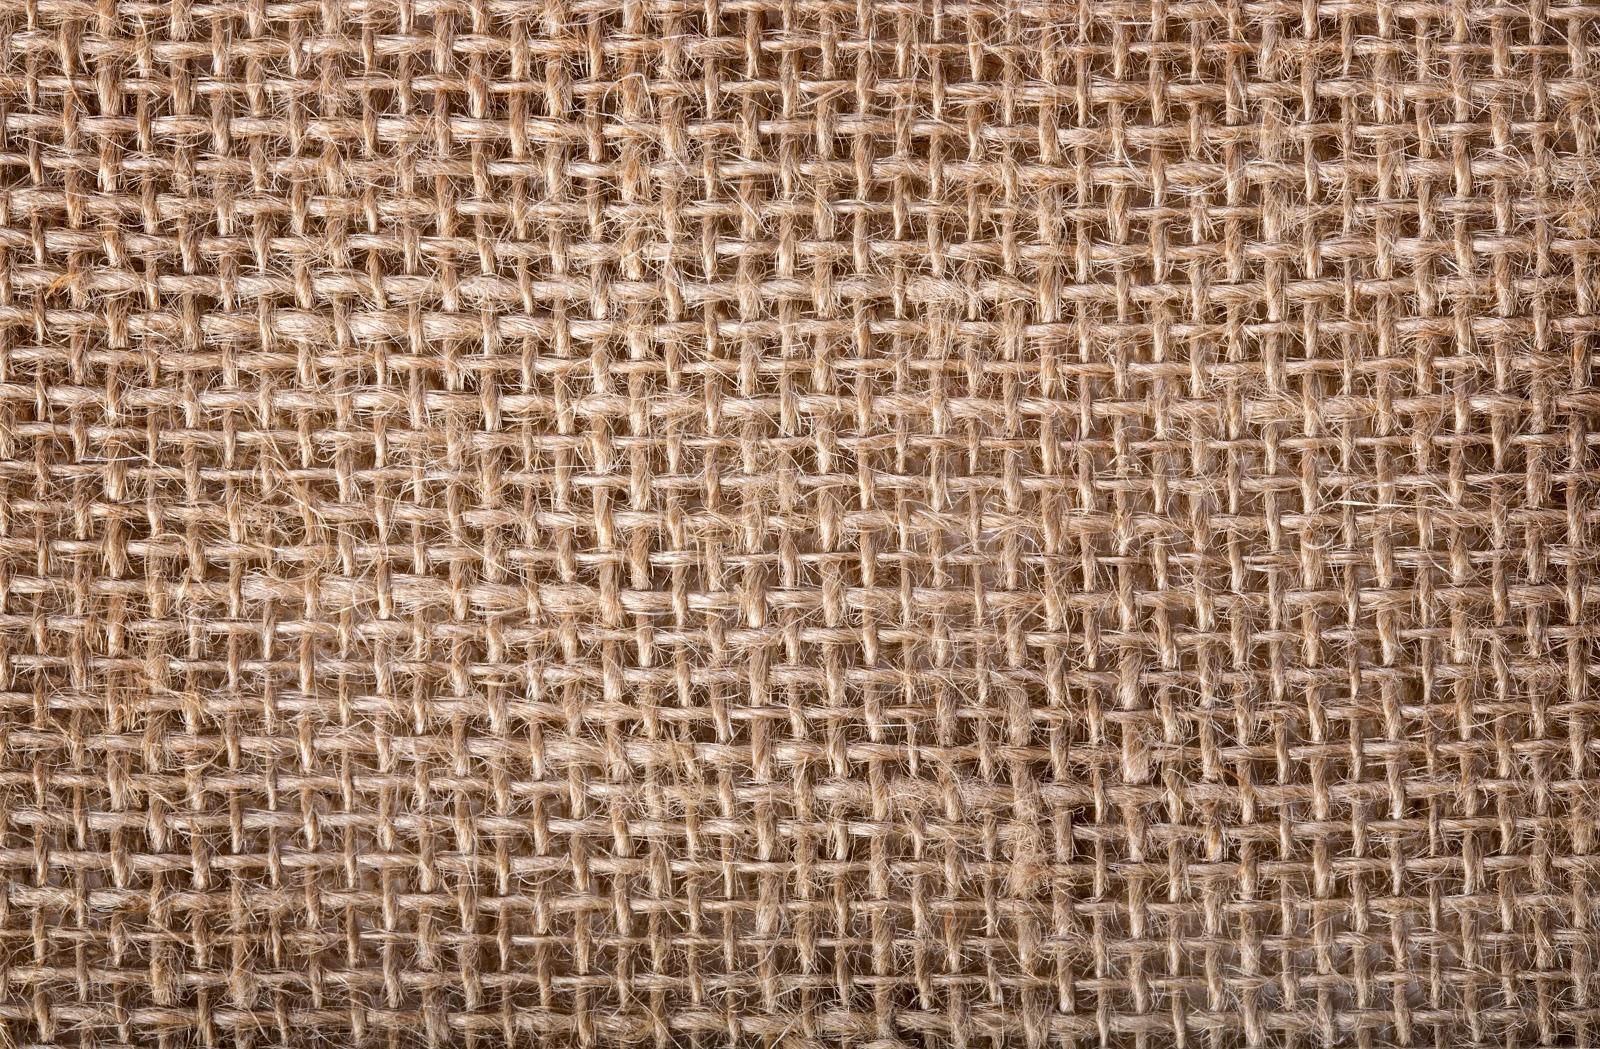
Burlap is made with a loose weave and tends to stretch. Consider adding a lightweight interlining to stabilize your project. Depending on how you will use the burlap, you can use iron-on stabilizer or sew in interfacing. There are different types of interfacing and stabilizers that could be ironed on to the back of the burlap fabric. This minimizes the amount of fraying that happens while cutting or sewing. One benefit of this simple technique is that you could trace the pieces of your pattern onto the stabilizer and use them as a guide when cutting.
Applying fusible seam tape along the seam line is also a good option. This stabilizes the area and strengthens the seam. However, the stabilizer could slightly show through and be noticeable on the right side of the burlap fabric. But this depends on how loose the weave of the burlap is. Also, the fabric itself will become stiffer. These problems will vary depending on the weight of the stabilizer.
Due to the loose weave, burlap tends to fray. So, consider clean finishing your seams with a serger to prevent seams from unraveling. If you don’t have a serger available, you can use a zigzag stitch to finish the edges, or use a liquid seam sealant. This will significantly minimize fraying, but won’t make the seam very strong. Keep in mind that the areas applied with liquid sealant may become stiff. This technique usually works fine on small stuffed projects where raw edges are exposed.
Set your machine for smaller stitches to capture as many fibers as possible within your seam. This will help strengthen the seam and prevent fraying.
The more you work with burlap, the more loose particles you will see in the air, on your sewing machine, and on the burlap itself. These particles can clog your machine, causing potential problems with future sewing projects. It is therefore important to clean your machine after sewing with burlap and remove the lint from the basket.
Now that you have the basics down, did you know that burlap comes in all different colors and prints? At Marshall Dry Goods we have several burlap patterns and options for you to choose from. Give us a call, or come by and see what all the buzz is about when it comes to burlap. We are located in downtown Batesville, Arkansas - 310 W. Main Street!